Your first widget with AI

The HTTP APIAbout HTTP API page describes the BUSY Bar HTTP API for developers. It’s for people who already work with HTTP APIs or want to learn how to use them.
This page shows how you can create dynamic widgets for BUSY Bar with AI, even if you have no prior programming experience. You might be surprised how easy it is to build a widget with just a few prompts — and BUSY Bar users are already creating their own this way.
What is a widget
A widget is a program that runs on a separate computer, Raspberry Pi, or router, rather than on the BUSY Bar itself. Unlike on-device apps, widgets send information to BUSY Bar screens through USB, Wi-Fi, or the internet using the BUSY Bar HTTP API.
In terms of the HTTP protocol, the BUSY Bar acts as an HTTP Server, listening for incoming requests from an HTTP Client — your widget.
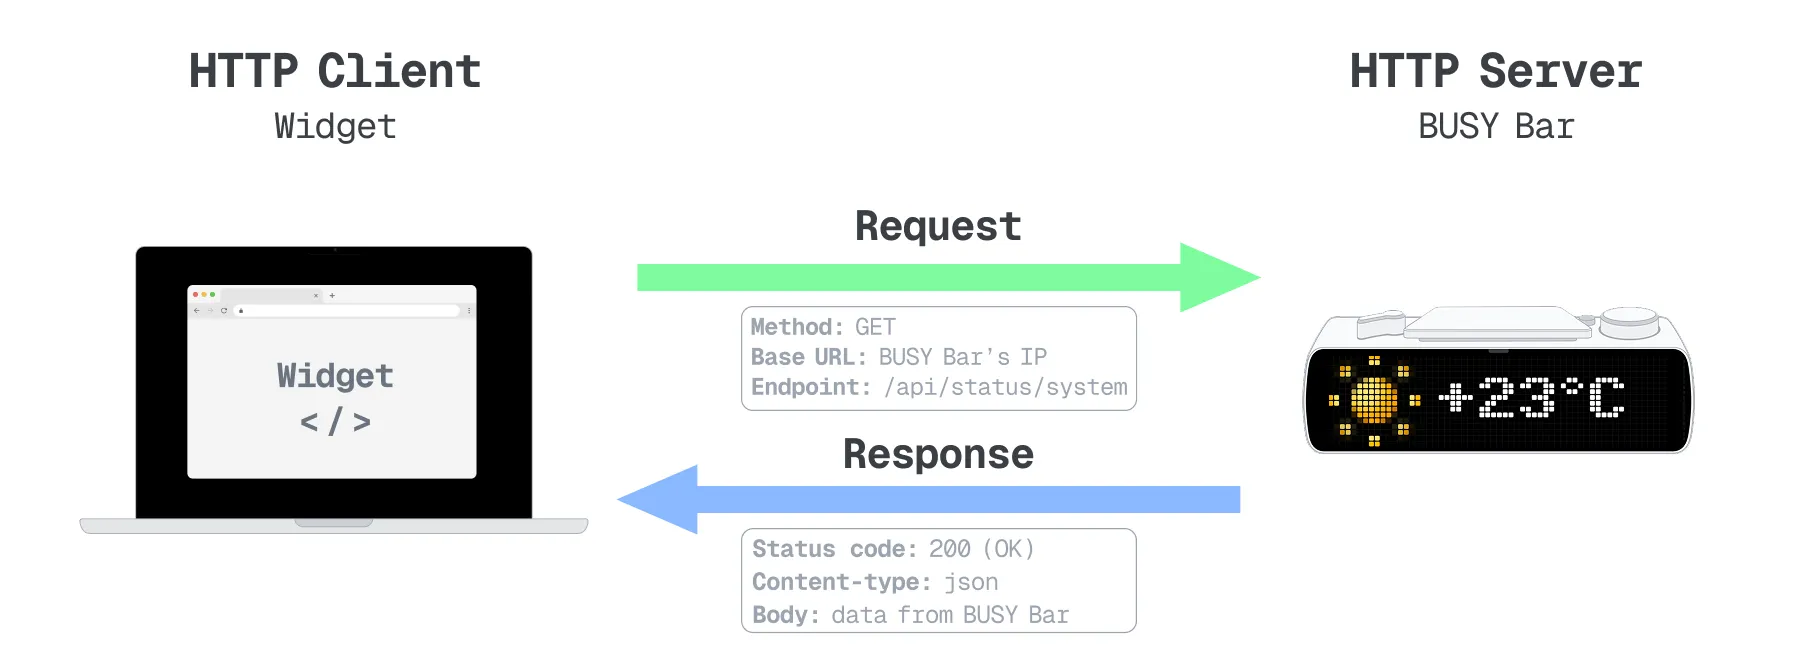
What you need to create a widget
You‘ll need:
- A PC or laptop where the widget code will run. Later, you can run the same code on a single-board computer, server, or even some routers.
- A BUSY Bar connected to your PC via USB or Wi-Fi. USB is more convenient for testing because it doesn‘t require authentication.
- An AI assistant powered by a modern LLM, such as ChatGPT, Claude, Gemini, or others. A free plan is usually enough. Agent mode is preferred, but Chat mode works too.
How to create a widget with AI
In this section, we‘ll create three simple widgets: a clock widget, a weather widget, and a ping monitor. You can use the same approach to build your own widget ideas.

The whole process takes just a few steps. No special knowledge is required, so you can get started as soon as you have an idea for a widget.
Step 0: Teach the AI to work with BUSY Bar
First, let‘s teach the AI how to use the HTTP API or the busylib library to interact with BUSY Bar. This includes displaying images and text, playing sounds, and responding to button presses on the device.
AI assistants are getting better at working with the BUSY Bar HTTP API all the time. By the time you read this, your AI assistant may already know the API well enough to skip this step. Still, it’s worth doing.
The easiest way is to provide the API description in the standard OpenAPI format.
Follow these steps:
Connect BUSY Bar to your PC via USB.
Download the openapi.yaml file from http://10.0.4.20/openapi.yaml.
Send the file to your AI agent with this message:
That‘s it. The AI agent now knows how to work with BUSY Bar, and you can start describing your widget idea.
Creating a clock widget
To start, let’s create a simple clock with the date — a good way to get familiar with the process. The time and date will come from your PC and update on the BUSY Bar every second. We’ll display the time in a large font so it’s easy to read at a glance.
Step 1: Displaying time and date
 AI prompt:
The AI wrote a Python script. Save it as a .py file, then run it in the terminal with python file.py (Windows) or python3 file.py (Linux/macOS).
 Script:
 Result:
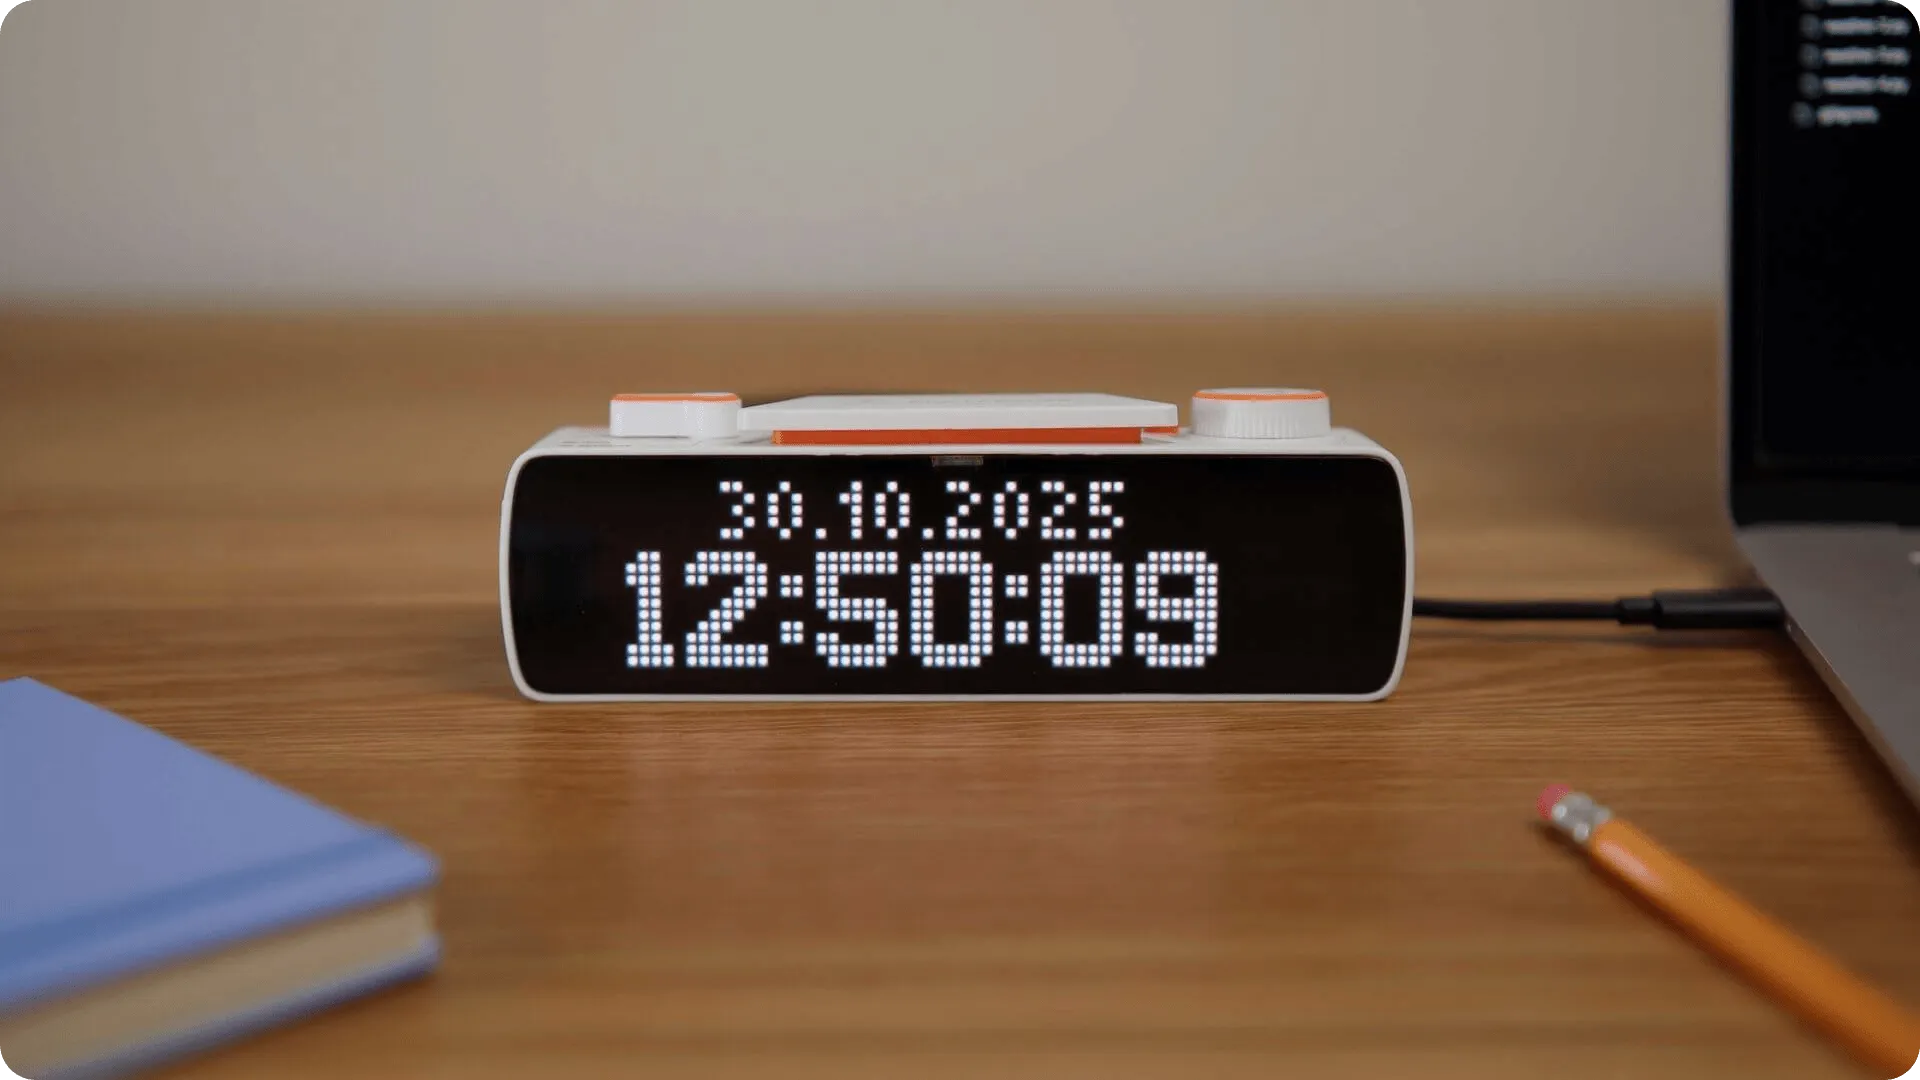
Not bad, but this is actually... just a static image. Let’s ask the AI to make the clock run, fix the horizontal alignment, and add some colors.
Step 2: Running clock, alignment, and colors
AI prompt:
Script:
Result:
That’s it — widget built in just three prompts.
The only note is that different characters, such as 1 and 5, have different widths, so the AI can’t center text perfectly. We’ll add horizontal and vertical text alignment in a future HTTP API update to solve this.
Weather widget
Now, let’s build a weather widget. It’ll get weather data from public online sources and display the weather icon, city name, and temperature for multiple cities on BUSY Bar.
Step 1: Displaying the weather
AI prompt:
Script:
Result:
The script is successfully retrieving data, yet everything moves too fast to read. Let’s fix that.
Step 2: Improving the interface
AI prompt:
Script:
Result:
Much better. There are still a couple of small issues, so let’s fix them with the next couple of prompts.
Step 3: Dealing with the degree symbol
AI prompt:
Script:
Result:
Almost there. Everything looks good except those strange weather icons. ChatGPT seems to struggle with those, so why not use weather emojis instead?
Step 4: Adding weather icons
We need 16×16 px icons for the main weather conditions, such as sunny, cloudy, and rainy weather. We’ll need these icons:
- ☀️ sun.png — symbol U+2600
- ☁️ cloud.png — symbol U+2601
- 🌫️ fog.png — symbol U+1F32B
- ⛅ partly.png — symbol U+1324
- 🌧️ rain.png — symbol U+1327
- 🌨️ snow.png — symbol U+1328
We can get these icons by downloading the archive below:
Extract the zip archive into the same folder as the script. After that, the only thing left is to ask the AI to update the script.
AI prompt:
Script:
Result:
Done! You can modify the list of cities in the script starting on line 11. If you keep only one city, the widget will just display its weather, updating every 3 seconds.
A ping monitor
Ping is a built-in system tool for checking the availability of devices on a network. It works by sending a special request to the IP address of the target device and measuring the time it takes to get a response.
This is especially important in some online games, where the game’s outcome can depend on the server’s response time and connection quality. That’s why having a real-time ping indicator is useful. Let’s create one for Counter-Strike 2.
Step 1: Displaying the ping chart
AI prompt:
Script:
The AI generated a script that takes the server and BUSY Bar IP addresses as parameters. This means you need to provide these addresses when running the script. For example, if the server address is 8.8.8.8, the command would look like this:
python3 ping-monitor-1.py --server 10.0.4.20 --target 8.8.8.8
Result:
Great, it’s almost ready. But it’s not immediately clear what the values mean. And in this case, you don’t really need the exact numbers — what matters is being able to spot changes from the normal ping level.
Let’s use different colors to show good, average, and poor ping.
Step 2: Coloring the chart
AI prompt:
Script:
Result:
Great! There’s just one small, cosmetic detail left: let’s add the game logo to the left side of the screen.
Step 3: Adding the game logo
AI prompt:
Script:
Result:
Done! In just a few steps, and without writing any code, we created a useful widget. You can use it to monitor a game server or keep track of any other server on your LAN or the internet.
Share your widget with the community
Made something cool or useful? Share it with the community on the r/busyapp subreddit — and check out what other community members have built, too. You might find your next widget there.