Connect to Home Assistant
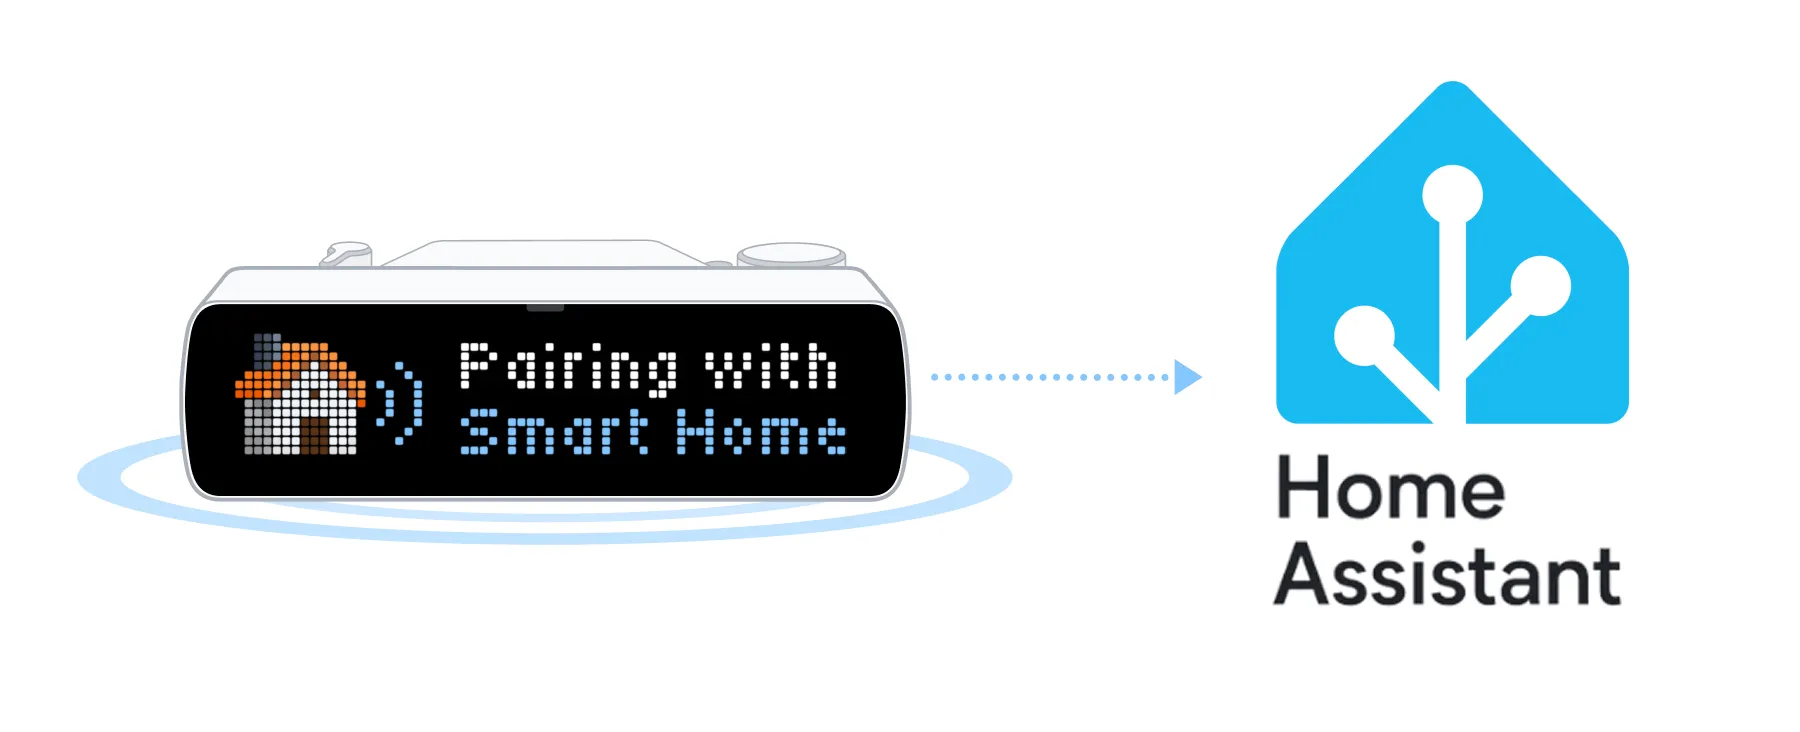
Home Assistant is an open-source smart home platform that brings your connected devices together, letting you control them and create automations from one place. Connect BUSY Bar to Home Assistant to control it from your smart home and include it in your automations.
If you’re new to Home Assistant, first follow the official Getting Started with Home Assistant guide to learn the basics and get set up.
This guide explains how to connect and disconnect BUSY Bar, and what you can do with it in Home Assistant.
 Coming soon: BUSY Bar in Home Assistant’s built-in integrations
We’re working on adding BUSY Bar to Home Assistant’s built-in integrations. In the meantime, you can install the official BUSY Bar integration using the instructions below.
On this page:
How BUSY Bar connects to Home Assistant
BUSY Bar connects to Home Assistant over your local Wi-Fi network. To enable the connection, turn on Wi-Fi access on BUSY Bar and set a password. You’ll need this password when connecting BUSY Bar to Home Assistant.
Connect BUSY Bar to Home Assistant
Before continuing, make sure:
-
 Wi-Fi access is enabled on BUSY Bar%page%Wi-Fi access is enabled on your BUSY Bar%page%
-
 BUSY Bar runs firmware version 1.2.3 or later%page%How to update firmware%page%
-
 BUSY Bar is on the same Wi-Fi network as Home Assistant%page%BUSY Bar is on the same Wi-Fi network as Home Assistant%page%
-
 Home Assistant runs version 2026.1.0 or later. To check your version, go to Settings → About in Home Assistant
-
 You have a GitHub account
Choose your Home Assistant version:
Step 1. Install HACS
HACS (Home Assistant Community Store) lets you download community-made integrations, plugins, and themes that aren’t included in Home Assistant by default.
Skip this step if you already have HACS and can see it in the Home Assistant left sidebar.
Download HACS from its official website, choosing your preferred installation type.
Restart Home Assistant:
- Go to Settings -> System.
- Click the power icon in the top-right corner, then Restart Home Assistant.
Go to Settings -> Devices & services -> Add integration, click HACS, then follow the on-screen steps.
Sign in to GitHub when prompted.
Step 2. Install the BUSY Bar integration
The official BUSY Bar integration connects BUSY Bar to Home Assistant over Wi-Fi, letting you control your device and use it in automations.
Open HACS from the left sidebar in Home Assistant.
In the top-right corner, click  , then Custom repositories.
In Repository, enter https://github.com/busy-app/busy-hacs
In Type, select Integration, then click Add. Close the window.
In HACS, search for the BUSY Bar integration.
Click BUSY Bar. In the bottom-right corner, click Download, then Download again to confirm.
Restart Home Assistant:
- Go to Settings -> System.
- Click the power icon in the top-right corner, then Restart Home Assistant.
Step 3. Add your BUSY Bar to Home Assistant
In Home Assistant, go to Settings -> Devices & services -> Add integration.
Search for BUSY Bar and select it. Home Assistant starts looking for BUSY Bar devices on your network.
Select your BUSY Bar, then click Submit.
In the Wi-Fi access key field, enter your Wi-Fi access password.
Forgot your Wi-Fi access password? See how to reset it%page%
Choose an area (room) for BUSY Bar, then click Finish.
 Your BUSY Bar is now in Home Assistant
Read on to learn what you can do with it.
BUSY Bar in Home Assistant
After connecting BUSY Bar, it appears as a device in Home Assistant. To open its device page, go to Settings → Devices & services → Devices, then select your BUSY Bar.
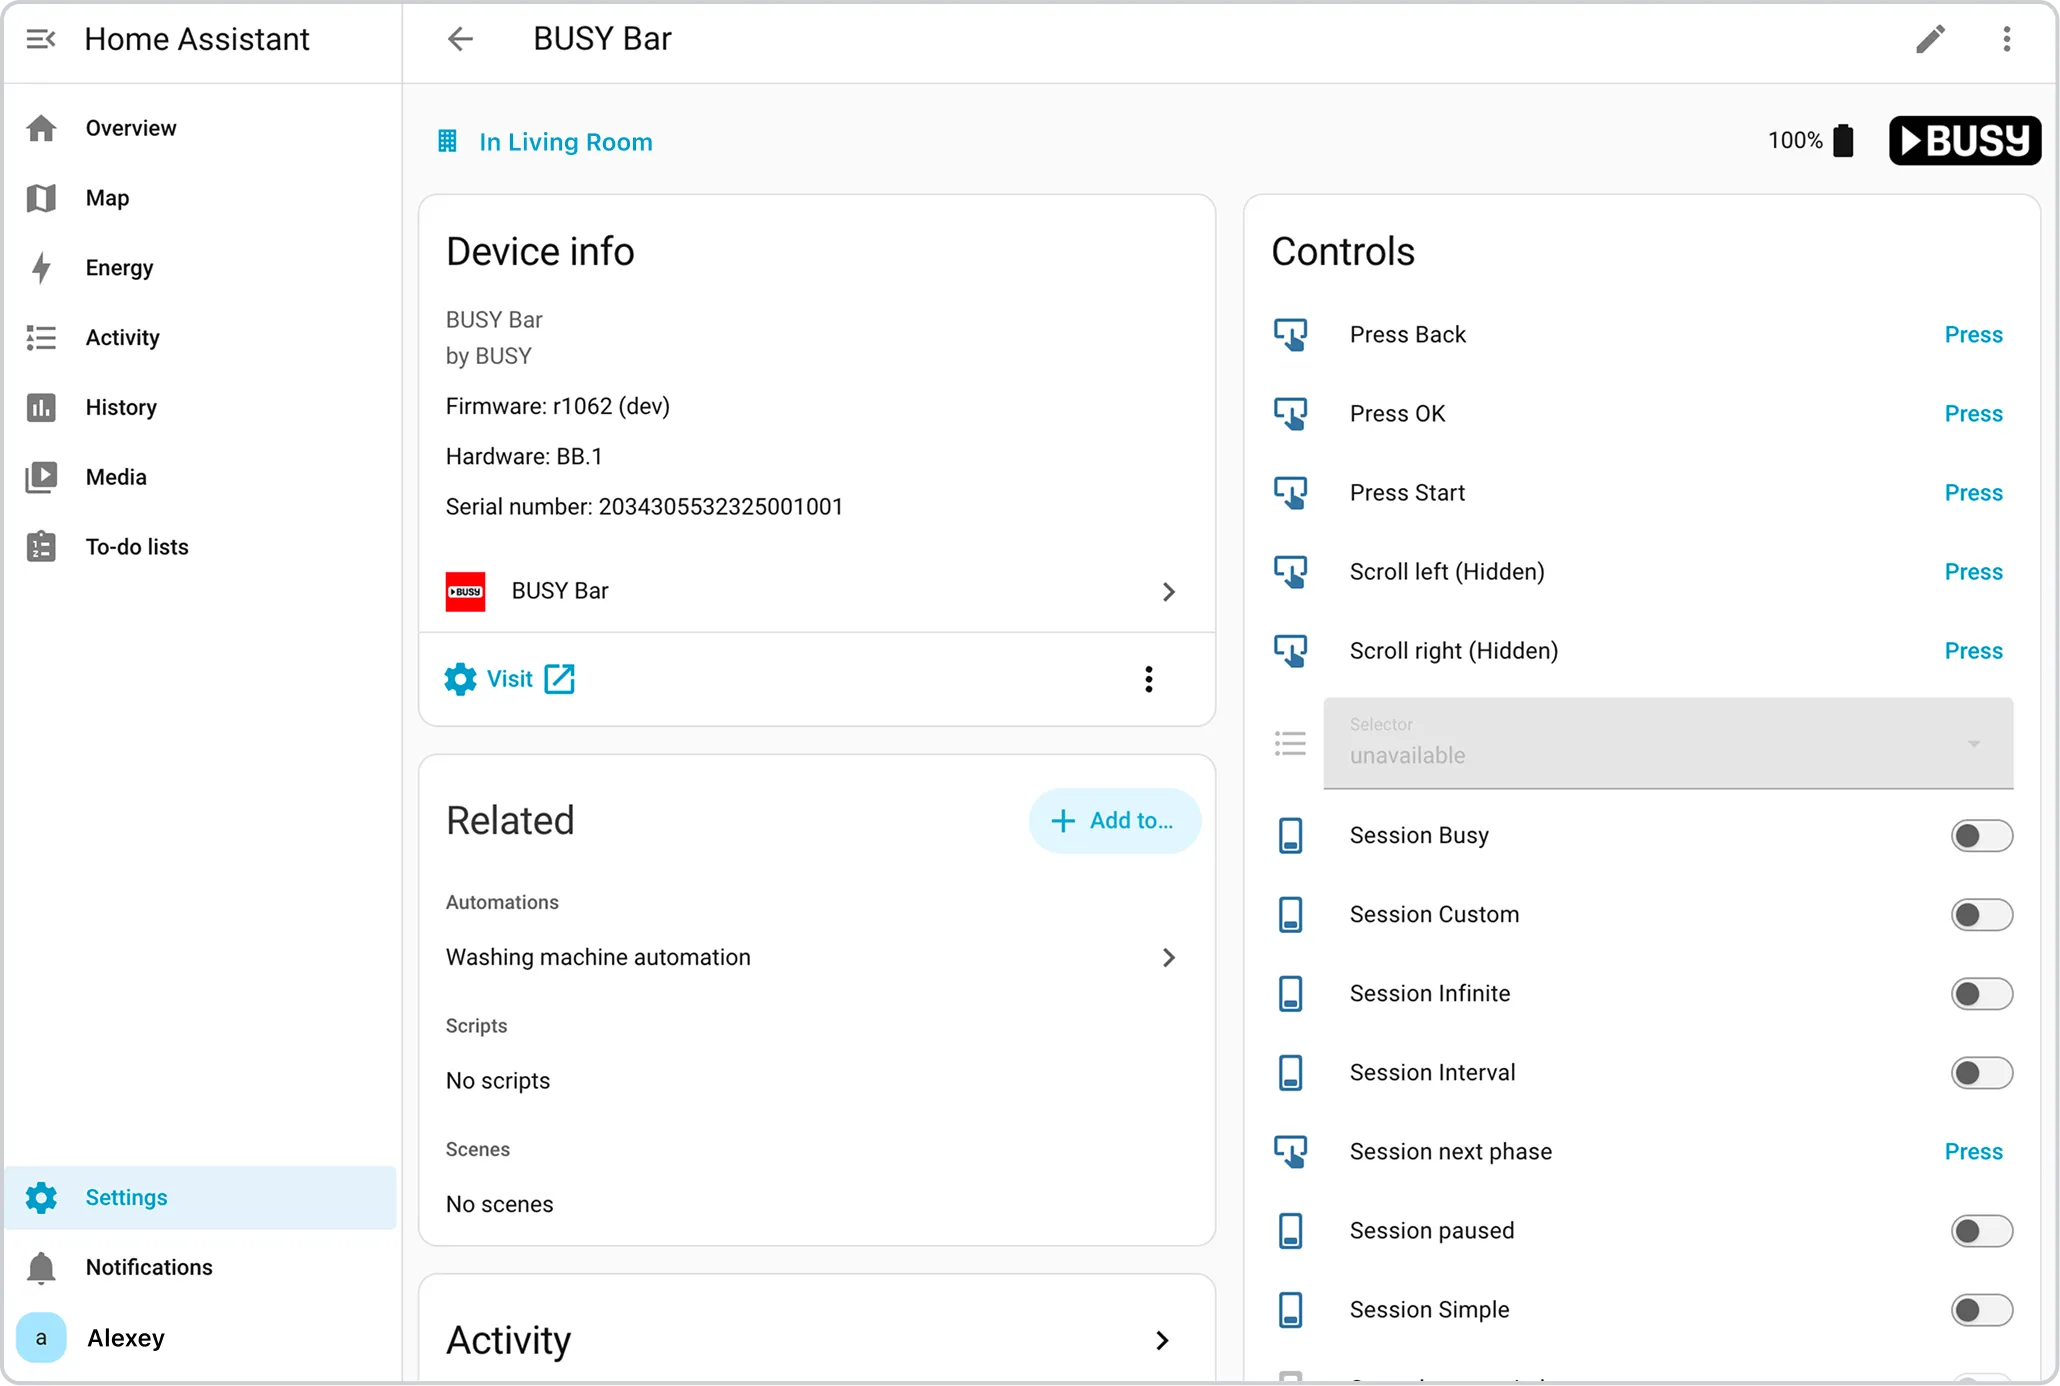
Here’s what you’ll find on the device page:
- Device info — View BUSY Bar’s firmware and hardware versions and serial number.
- Controls — Start, pause, and stop sessions, or change the switch position on BUSY Bar.
- Sensors — See what BUSY Bar is doing, including a live view of its screen.
- Events — Track button presses and wheel turns on BUSY Bar.
- Configuration — Adjust settings such as screen brightness and sound volume. You can also configure three additional session types (Interval, Simple, and Infinite) that exist only in Home Assistant and can only be started and controlled from there.
- Diagnostic — Check the battery level, Wi-Fi connection, and firmware details.
BUSY Bar also provides actions you can use in automations, such as Show a notification. Learn more: Set up automations in Home Assistant%page%
Disconnect BUSY Bar from Home Assistant
After disconnecting, you won’t be able to control BUSY Bar from Home Assistant or use it in smart home automations. You can reconnect at any time by following this guide again.
Option 1. Disconnect through Home Assistant
Make sure BUSY Bar is turned on and connected to Wi-Fi. Home Assistant needs to reach BUSY Bar to revoke its access token.
In Home Assistant, go to Settings -> Devices & services.
Under Configured, click the BUSY Bar integration.
Next to your BUSY Bar, click , then Delete.
Click Delete again to confirm.
Option 2. Disconnect through the BUSY Bar web interface
You can also disconnect Home Assistant from BUSY Bar’s web interface by deleting its access token. This revokes Home Assistant’s access without requiring you to open Home Assistant.
Connect BUSY Bar to your computer via USB.
Open http://10.0.4.20 in a web browser.
On the Settings tab, under Smart home, click Home Assistant.
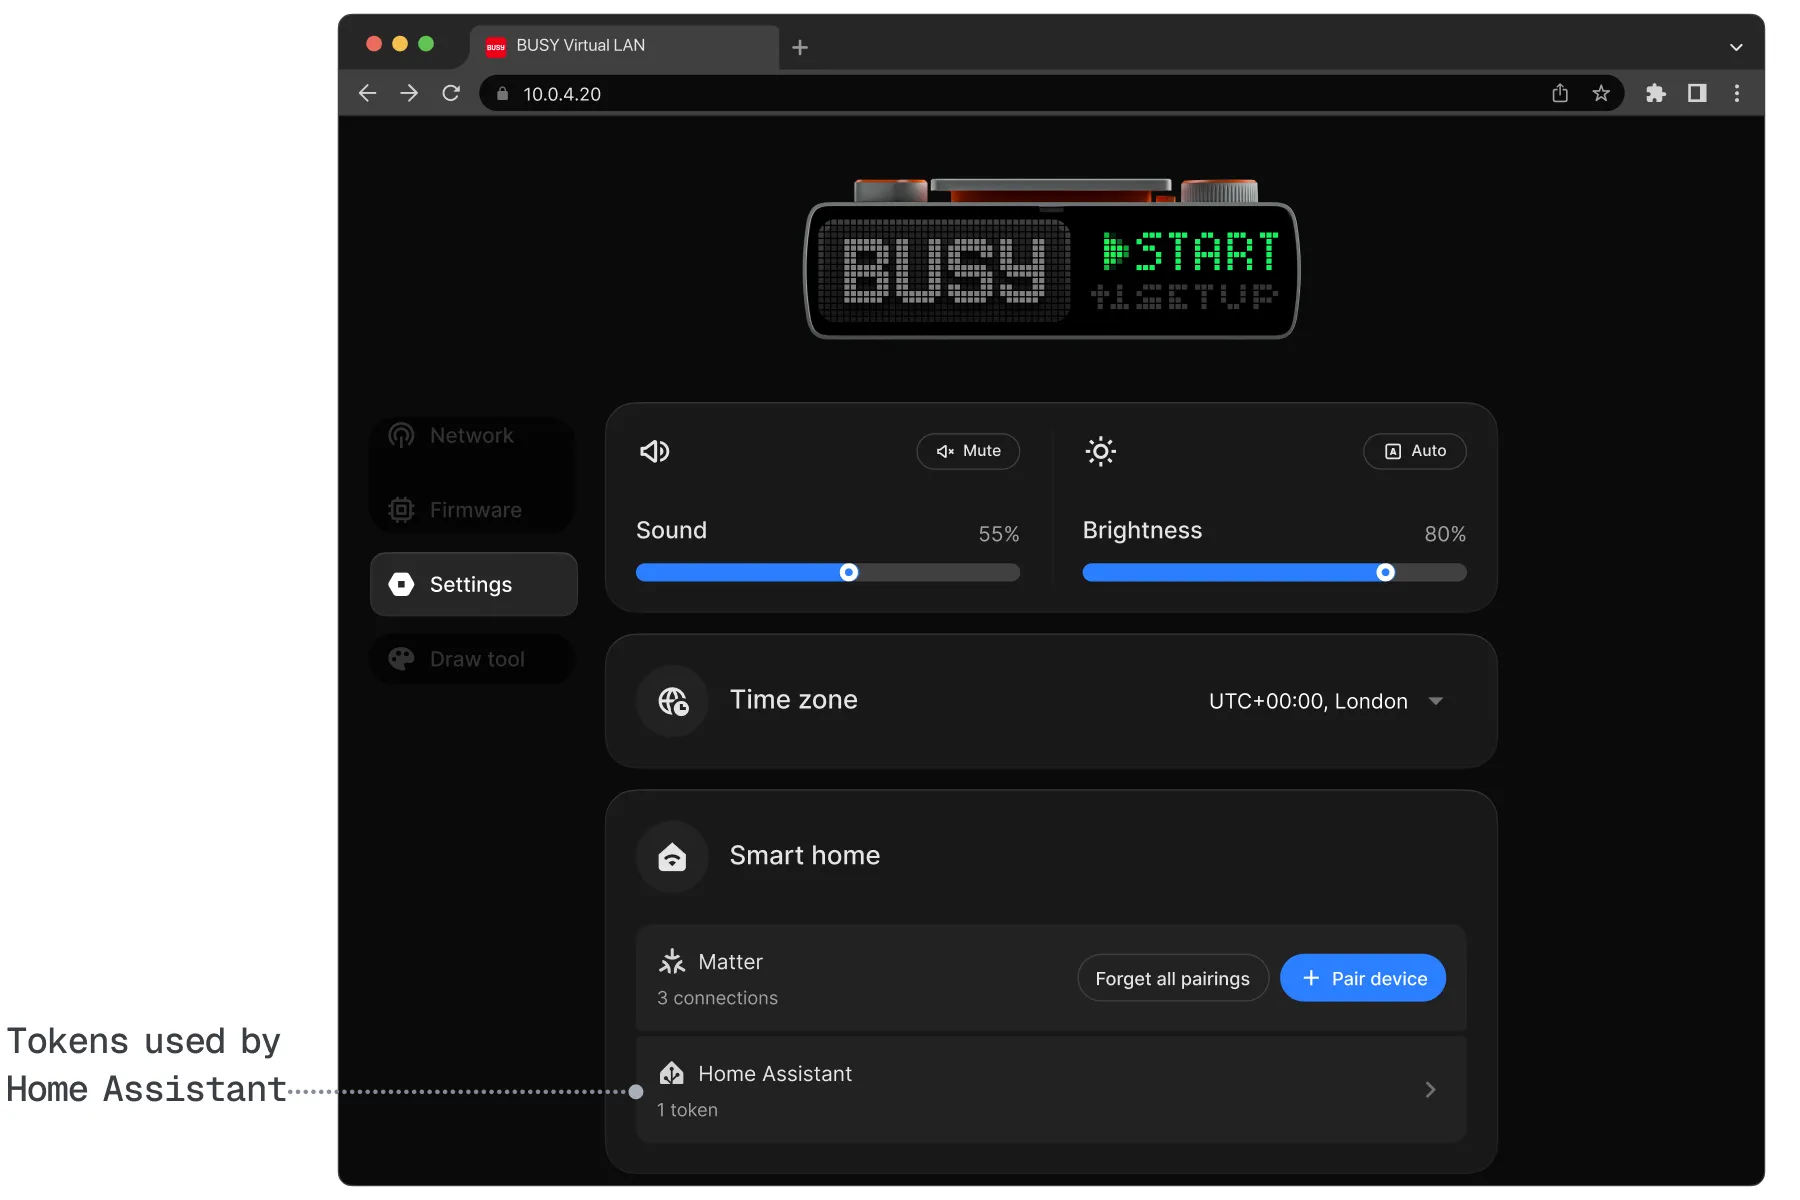
Click Delete token, then confirm.